Batch No. 1: The Beginning of Brighter Blaze
The first pour went pretty smoothly overall. Since I’d been preparing for weeks, I had everything ready and organized before I started. The only surprise? Wax. Everywhere. No matter how neat I tried to be, it found its way onto everything. Lesson learned — next time I’ll keep plenty of towels nearby!
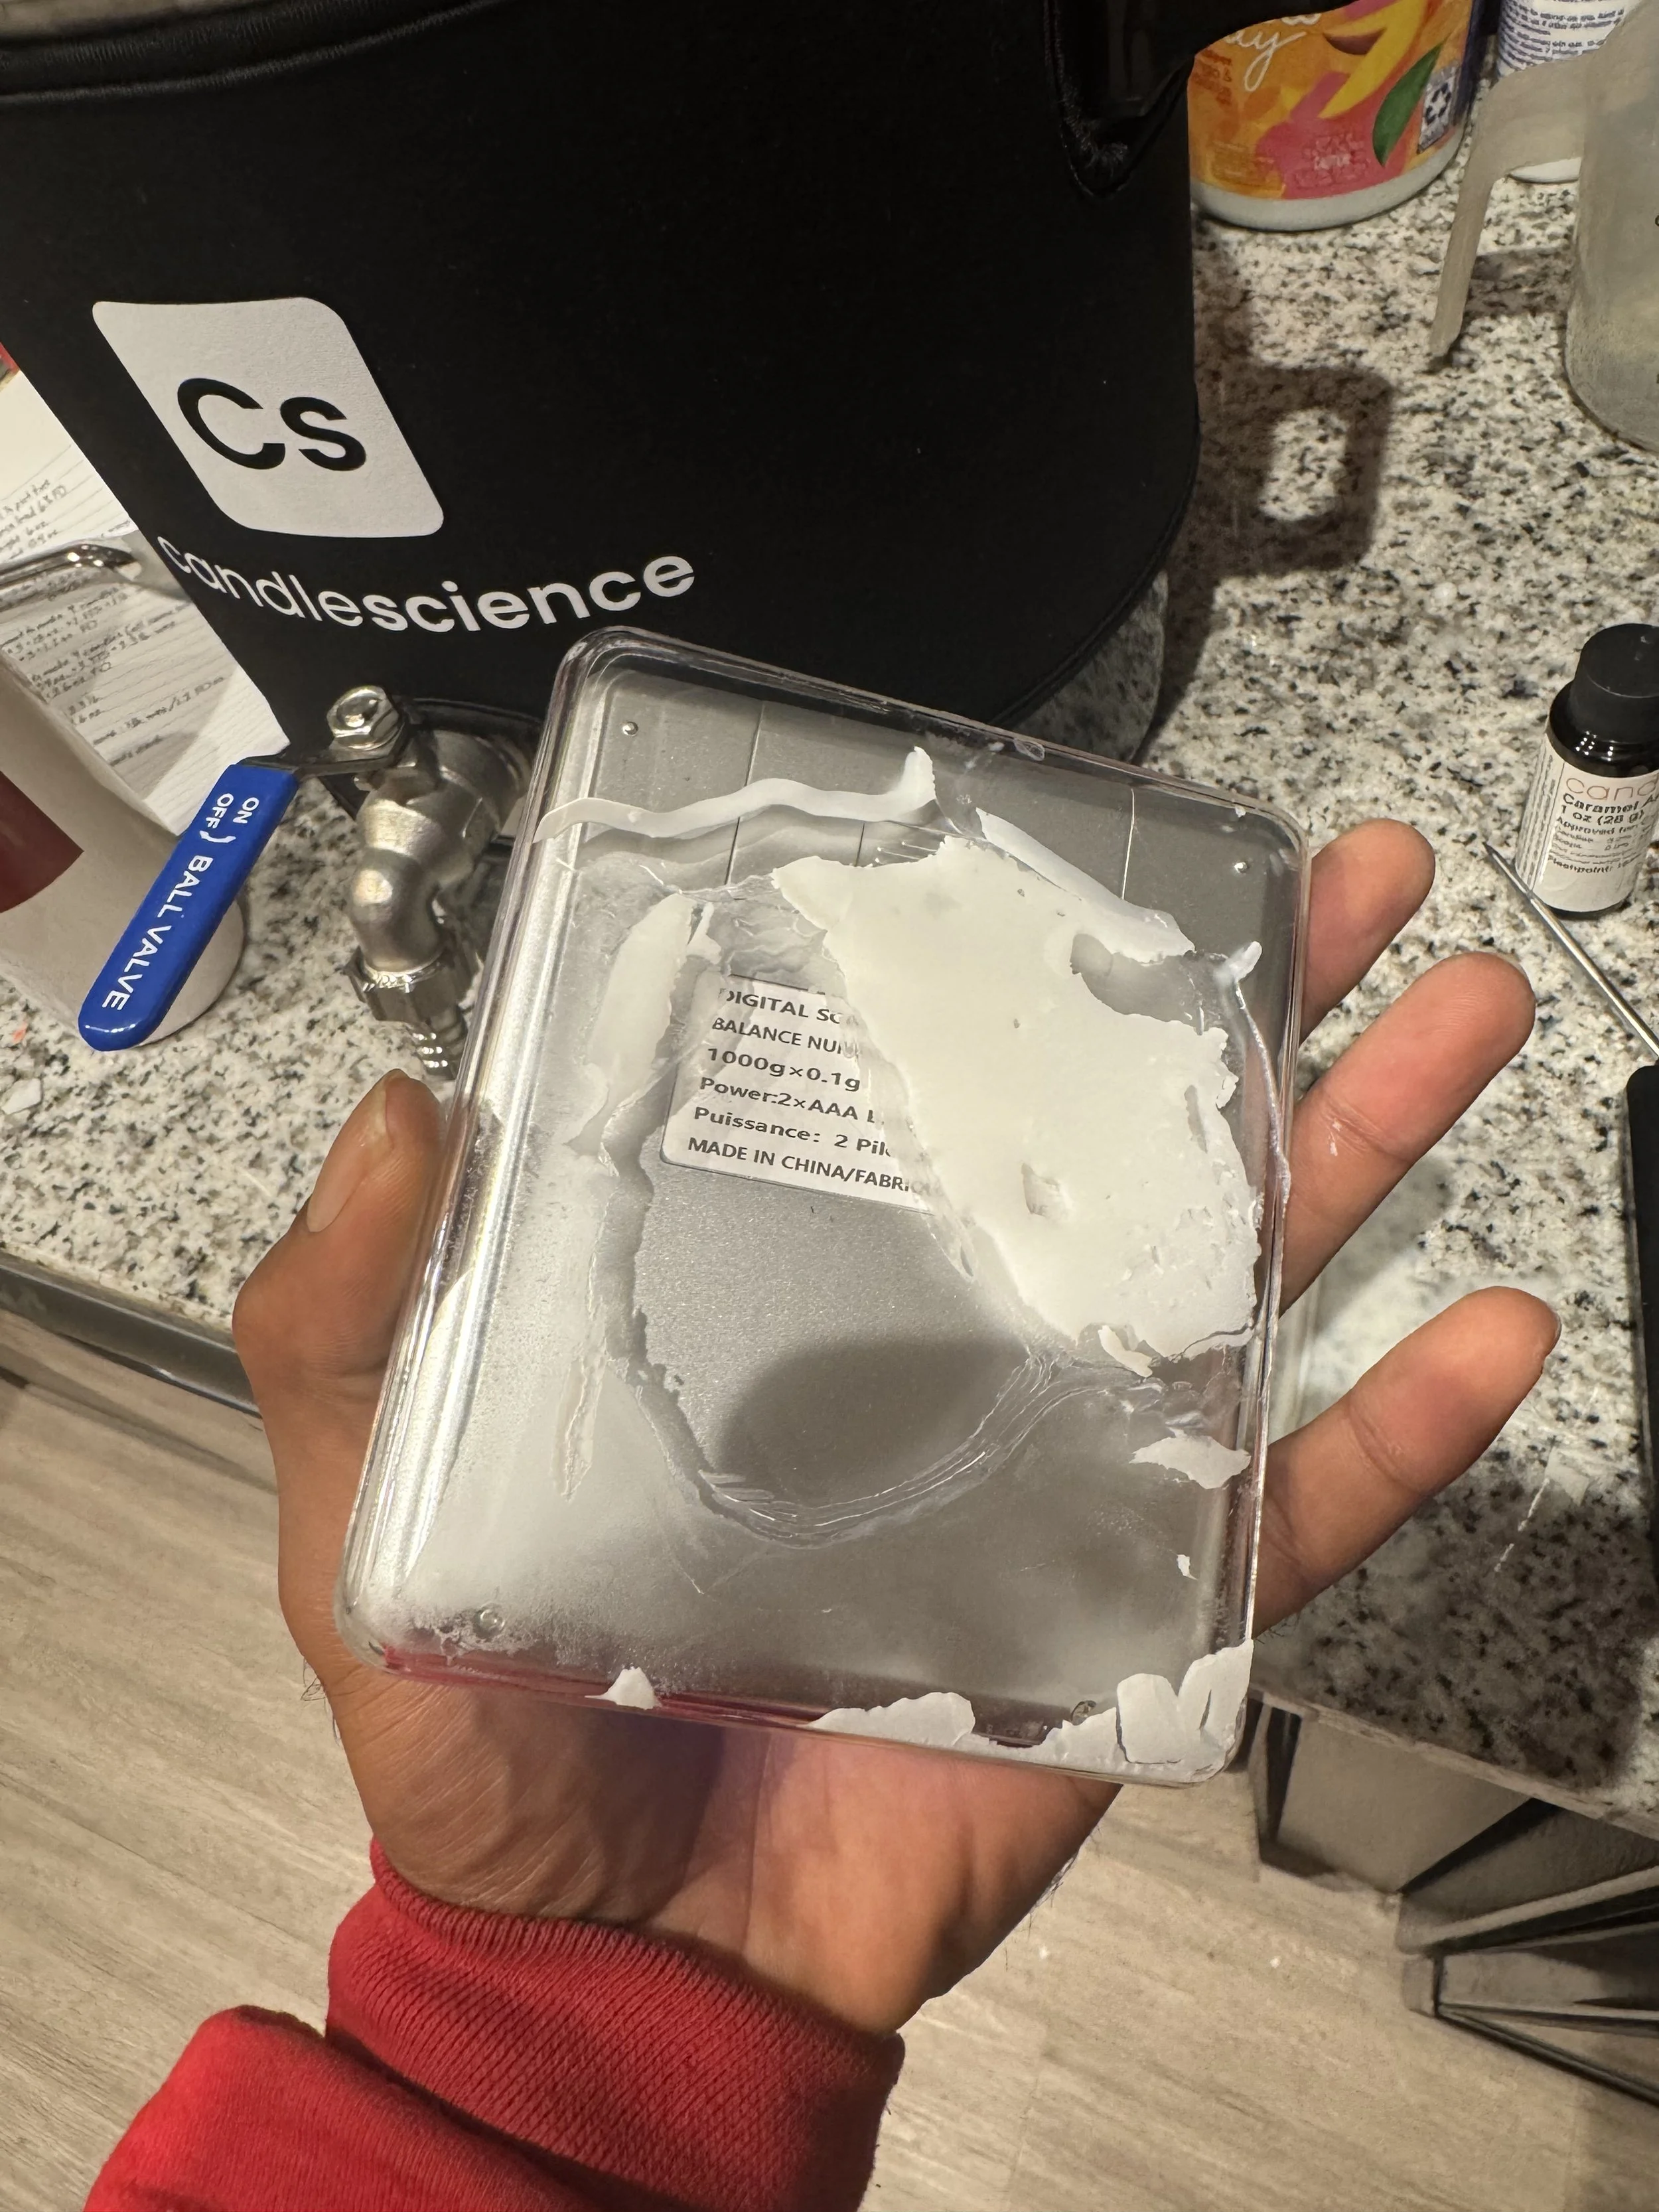
The entire process took about three hours. I began by confirming my fill weights, which turned out to match the estimates I calculated weeks earlier. From there, I pulled up my formula and got to work. The goal of this session was to test wick sizes and identify the best pouring and curing temperatures for my studio environment.
Batch Session 1 -
Wick and Burn Test
Size: all 1/2 pint tins
Fragrance load: 6% FO
Fill weight: 7 oz.
FO weight: 0.4 oz.
Batch 1 - Scent A
Total wax: 1.3 lb.
Total fo: 1.2 oz.
1 small wick
1 medium wick
1 large wick
= 3 candles
Batch 2 - Scent B
Total wax: 1.3 lb.
Total fo: 1.2 oz.
1 small wick
1 medium wick
1 large wick
= 3 candles
Batch 3 - Scent C
Total wax: 1.3 lb.
Total fo: 1.2 oz.
1 small wick
1 medium wick
1 large wick
= 3 candles
If I do just one fragrance for one batch of 9 candles:
Total wax: 4 lb.
Total fo: 3.6 oz.
I theorized that medium wicks would work best for both my small and large tins, though a smaller wick might still perform well depending on how the melt pool forms. This round was just for experimentation, so I tested small and large wicks too — sometimes the results that “shouldn’t work” end up being the most interesting.
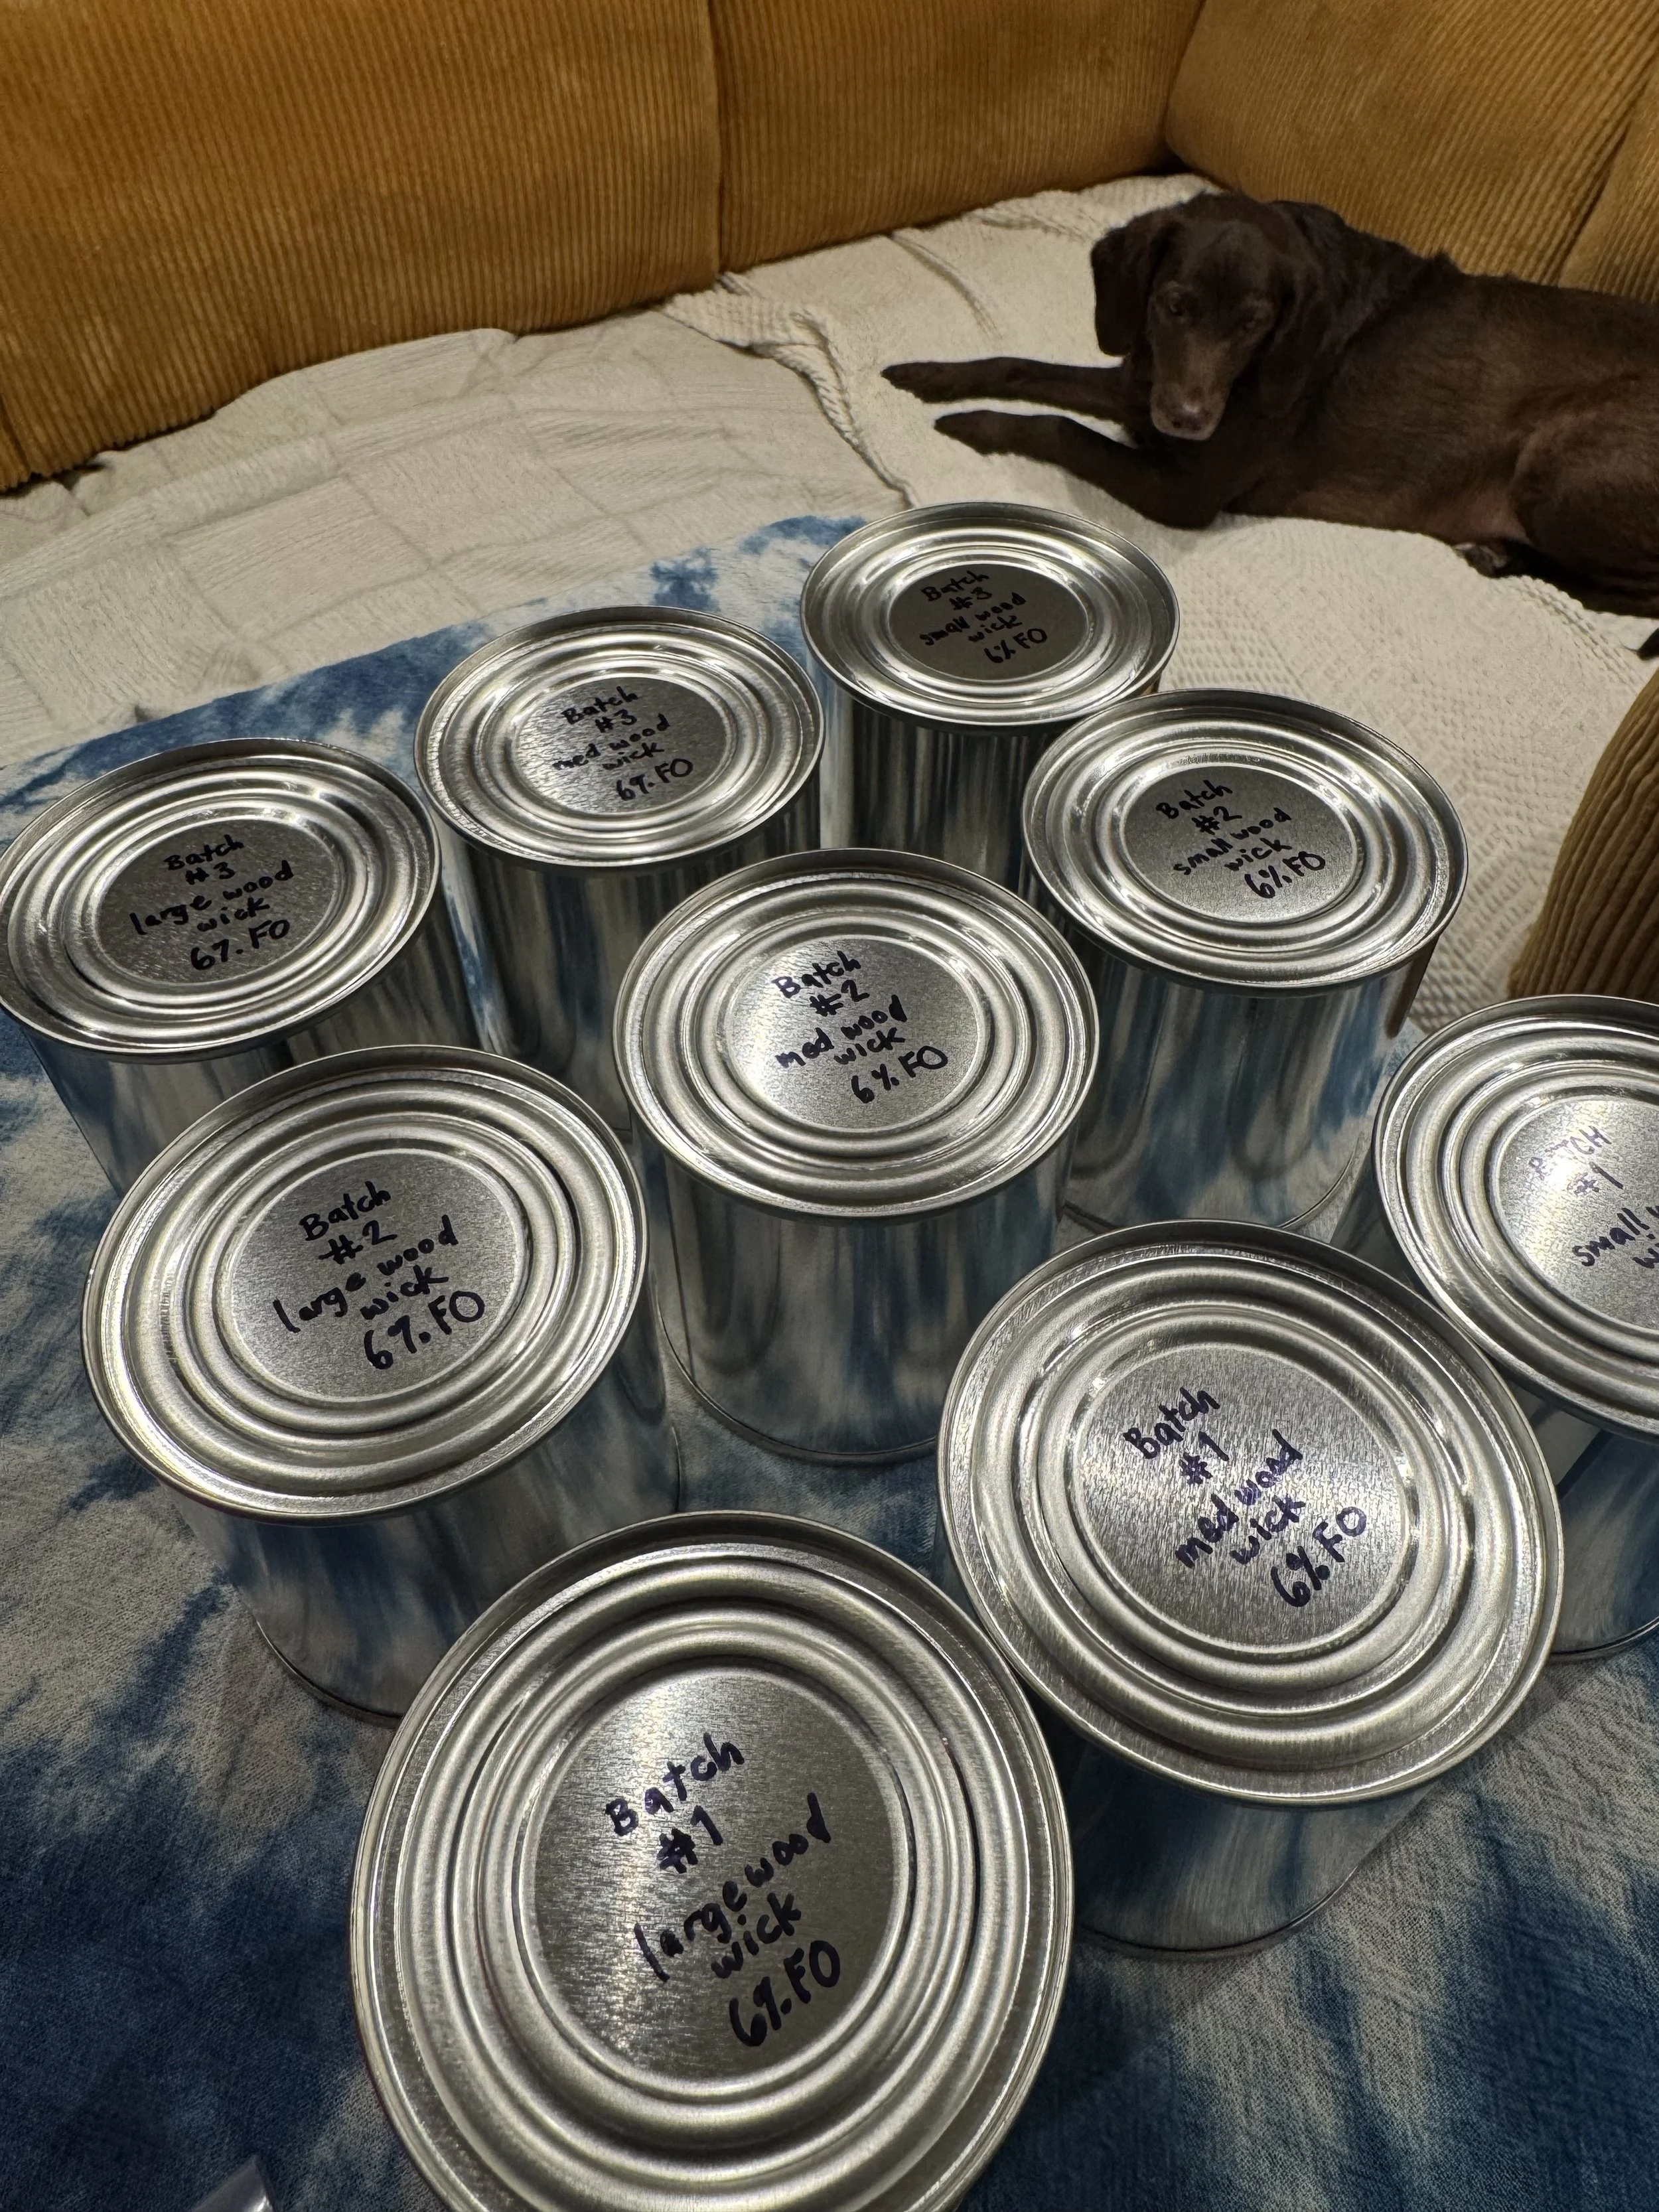
Labeling each tin before pre-wicks
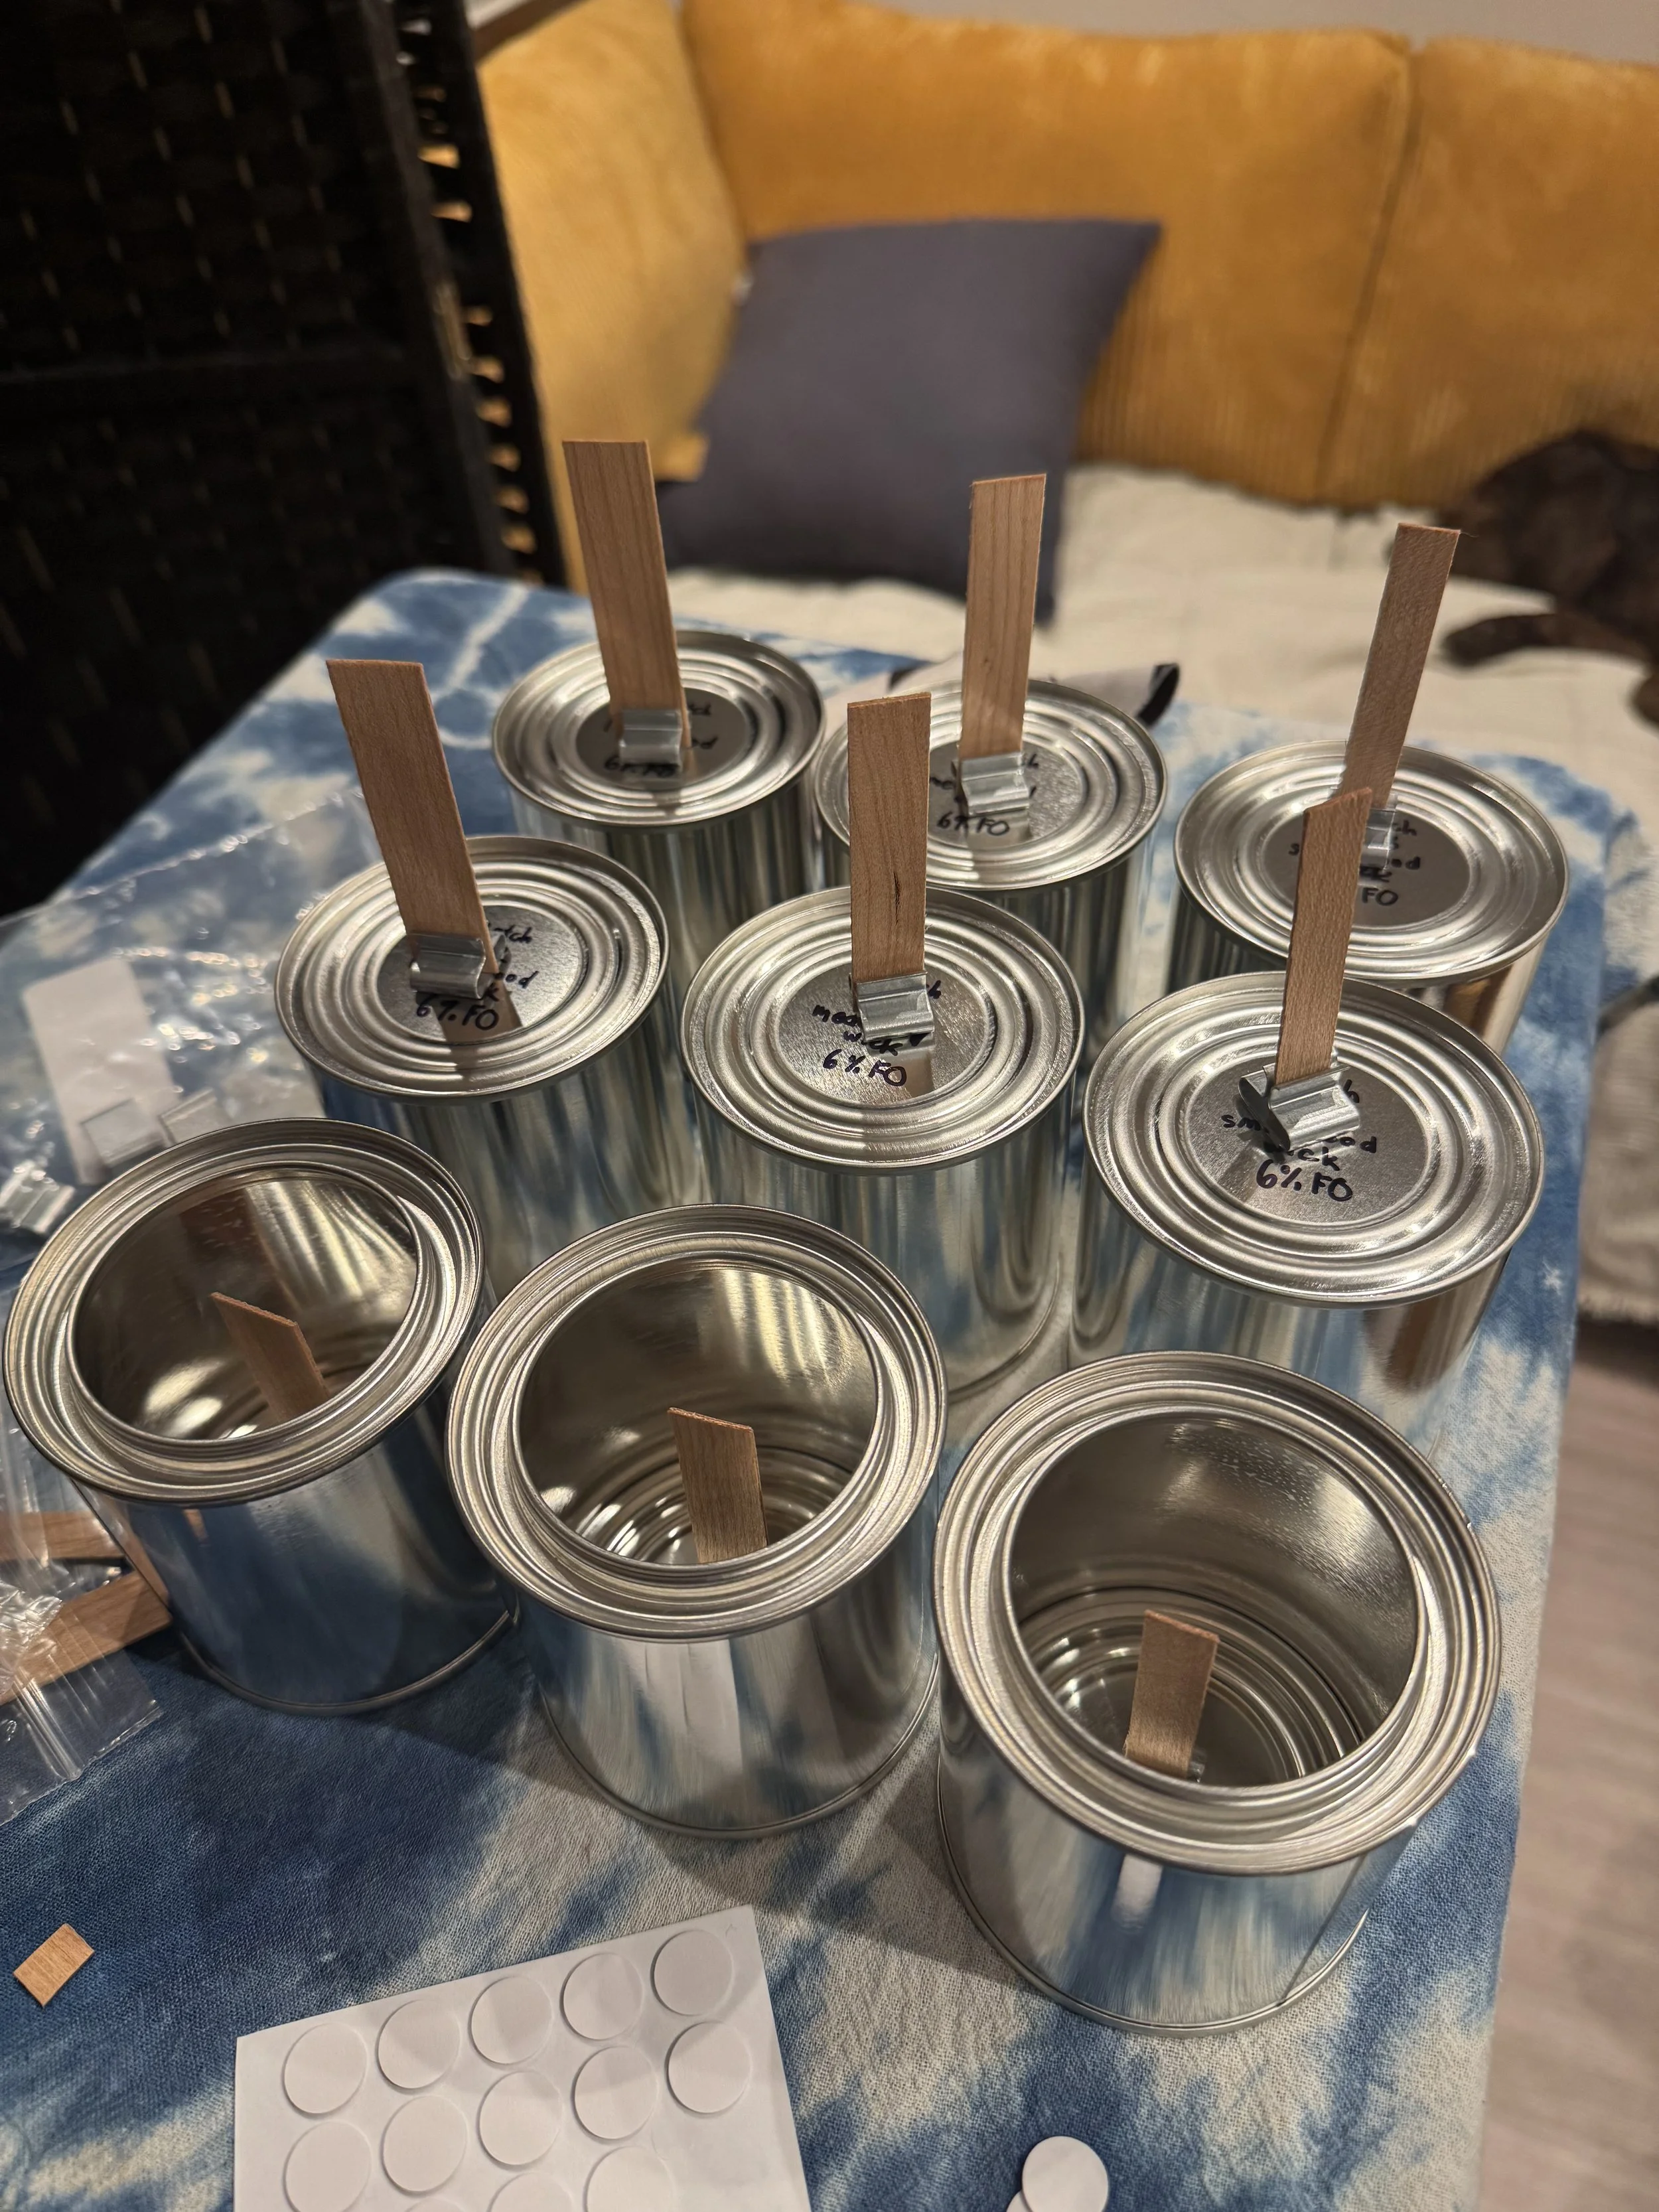
Testing three different wooden wick sizes (small, medium, large)
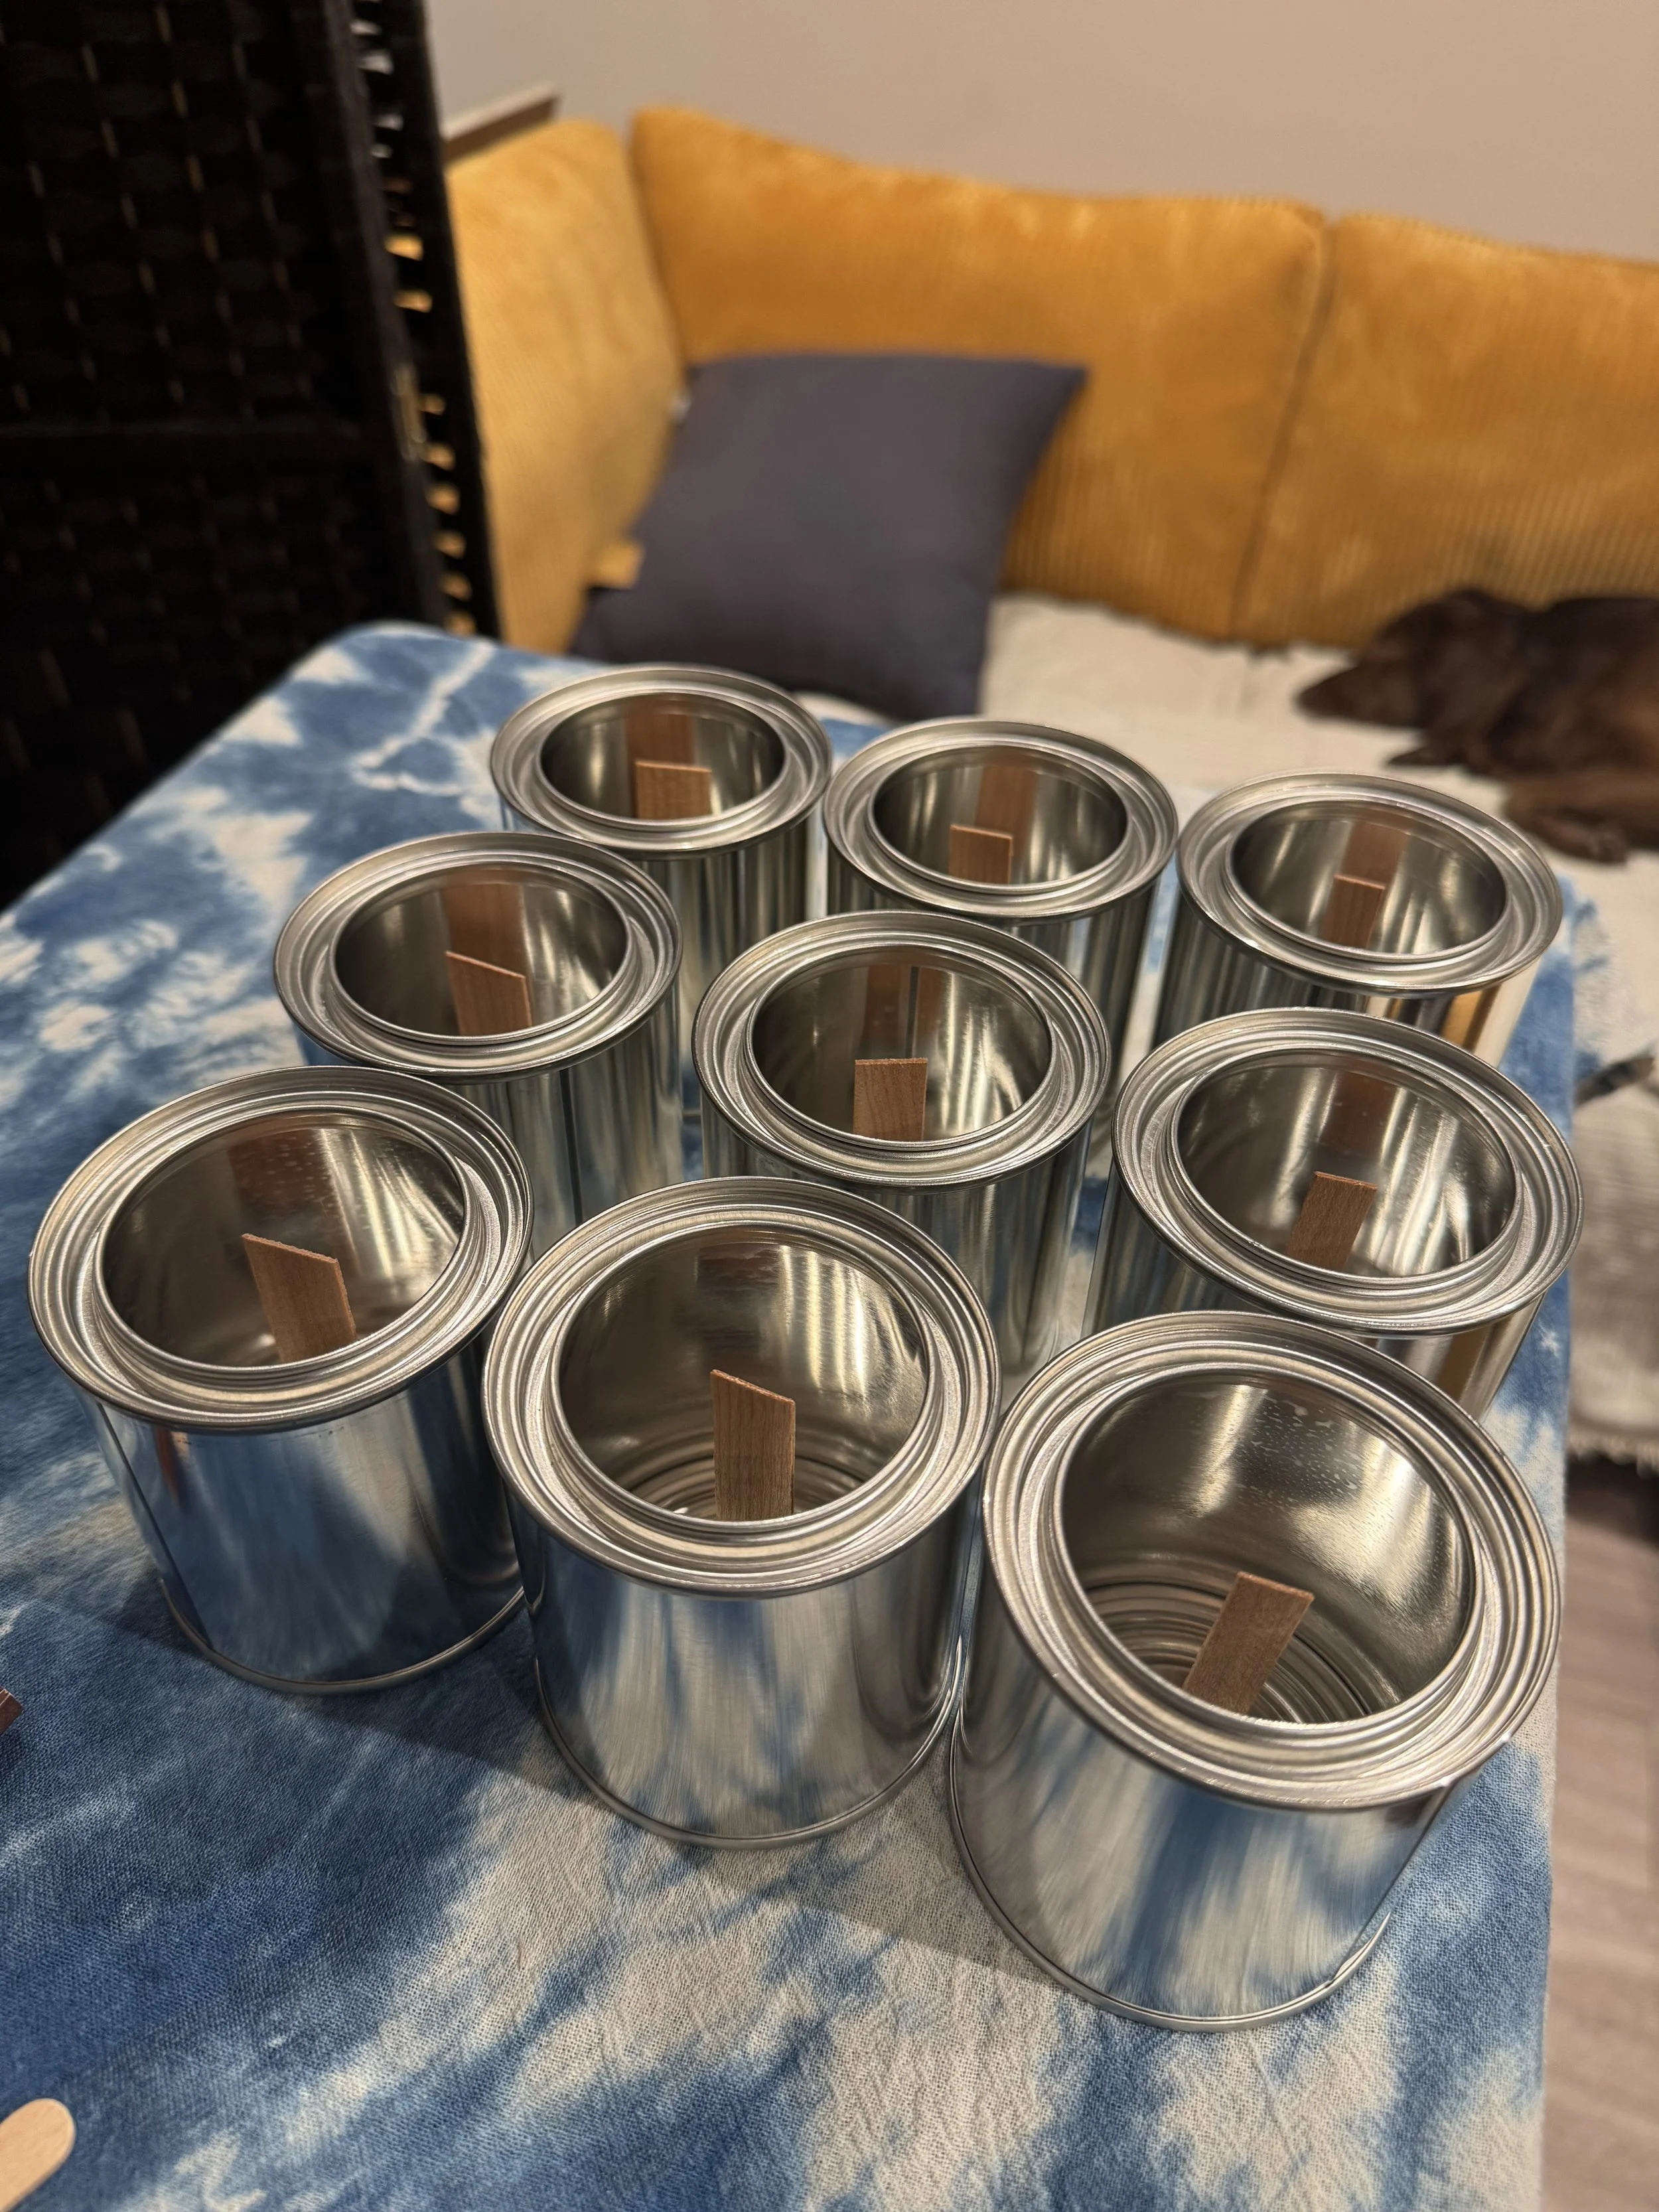
All wicked!
For this batch, I used only wooden wicks since they’ll likely become my standard. Cotton wick tests will come later. Once I pre-wicked each tin, I let them set for a couple of hours while I worked up the nerve to start melting wax. Weighing the wax was satisfying, especially knowing all the math had been worked out in advance. I added an extra 0.9 oz to compensate for any spillage during pouring. I heated the melter to 179°F, added the wax, and stirred gently to ensure it melted evenly. Once fully melted, I incorporated the fragrance oil at 160°F, folding the scent in thoroughly for about three minutes.
That step reminded me of baking — the more care and patience you put in, the better the ingredients bind together. I poured the wax into the tins at the same temperature (160°F), and the result was beautiful. I repeated this process for the next two scents, and just like that, I had poured my first nine Brighter Blaze candles. After cleaning up (which took longer than I’d like to admit), I went straight to bed — exhausted but proud. Wax had somehow managed to cover the counter, floor, melter, and nearly everything else, but it was worth it.
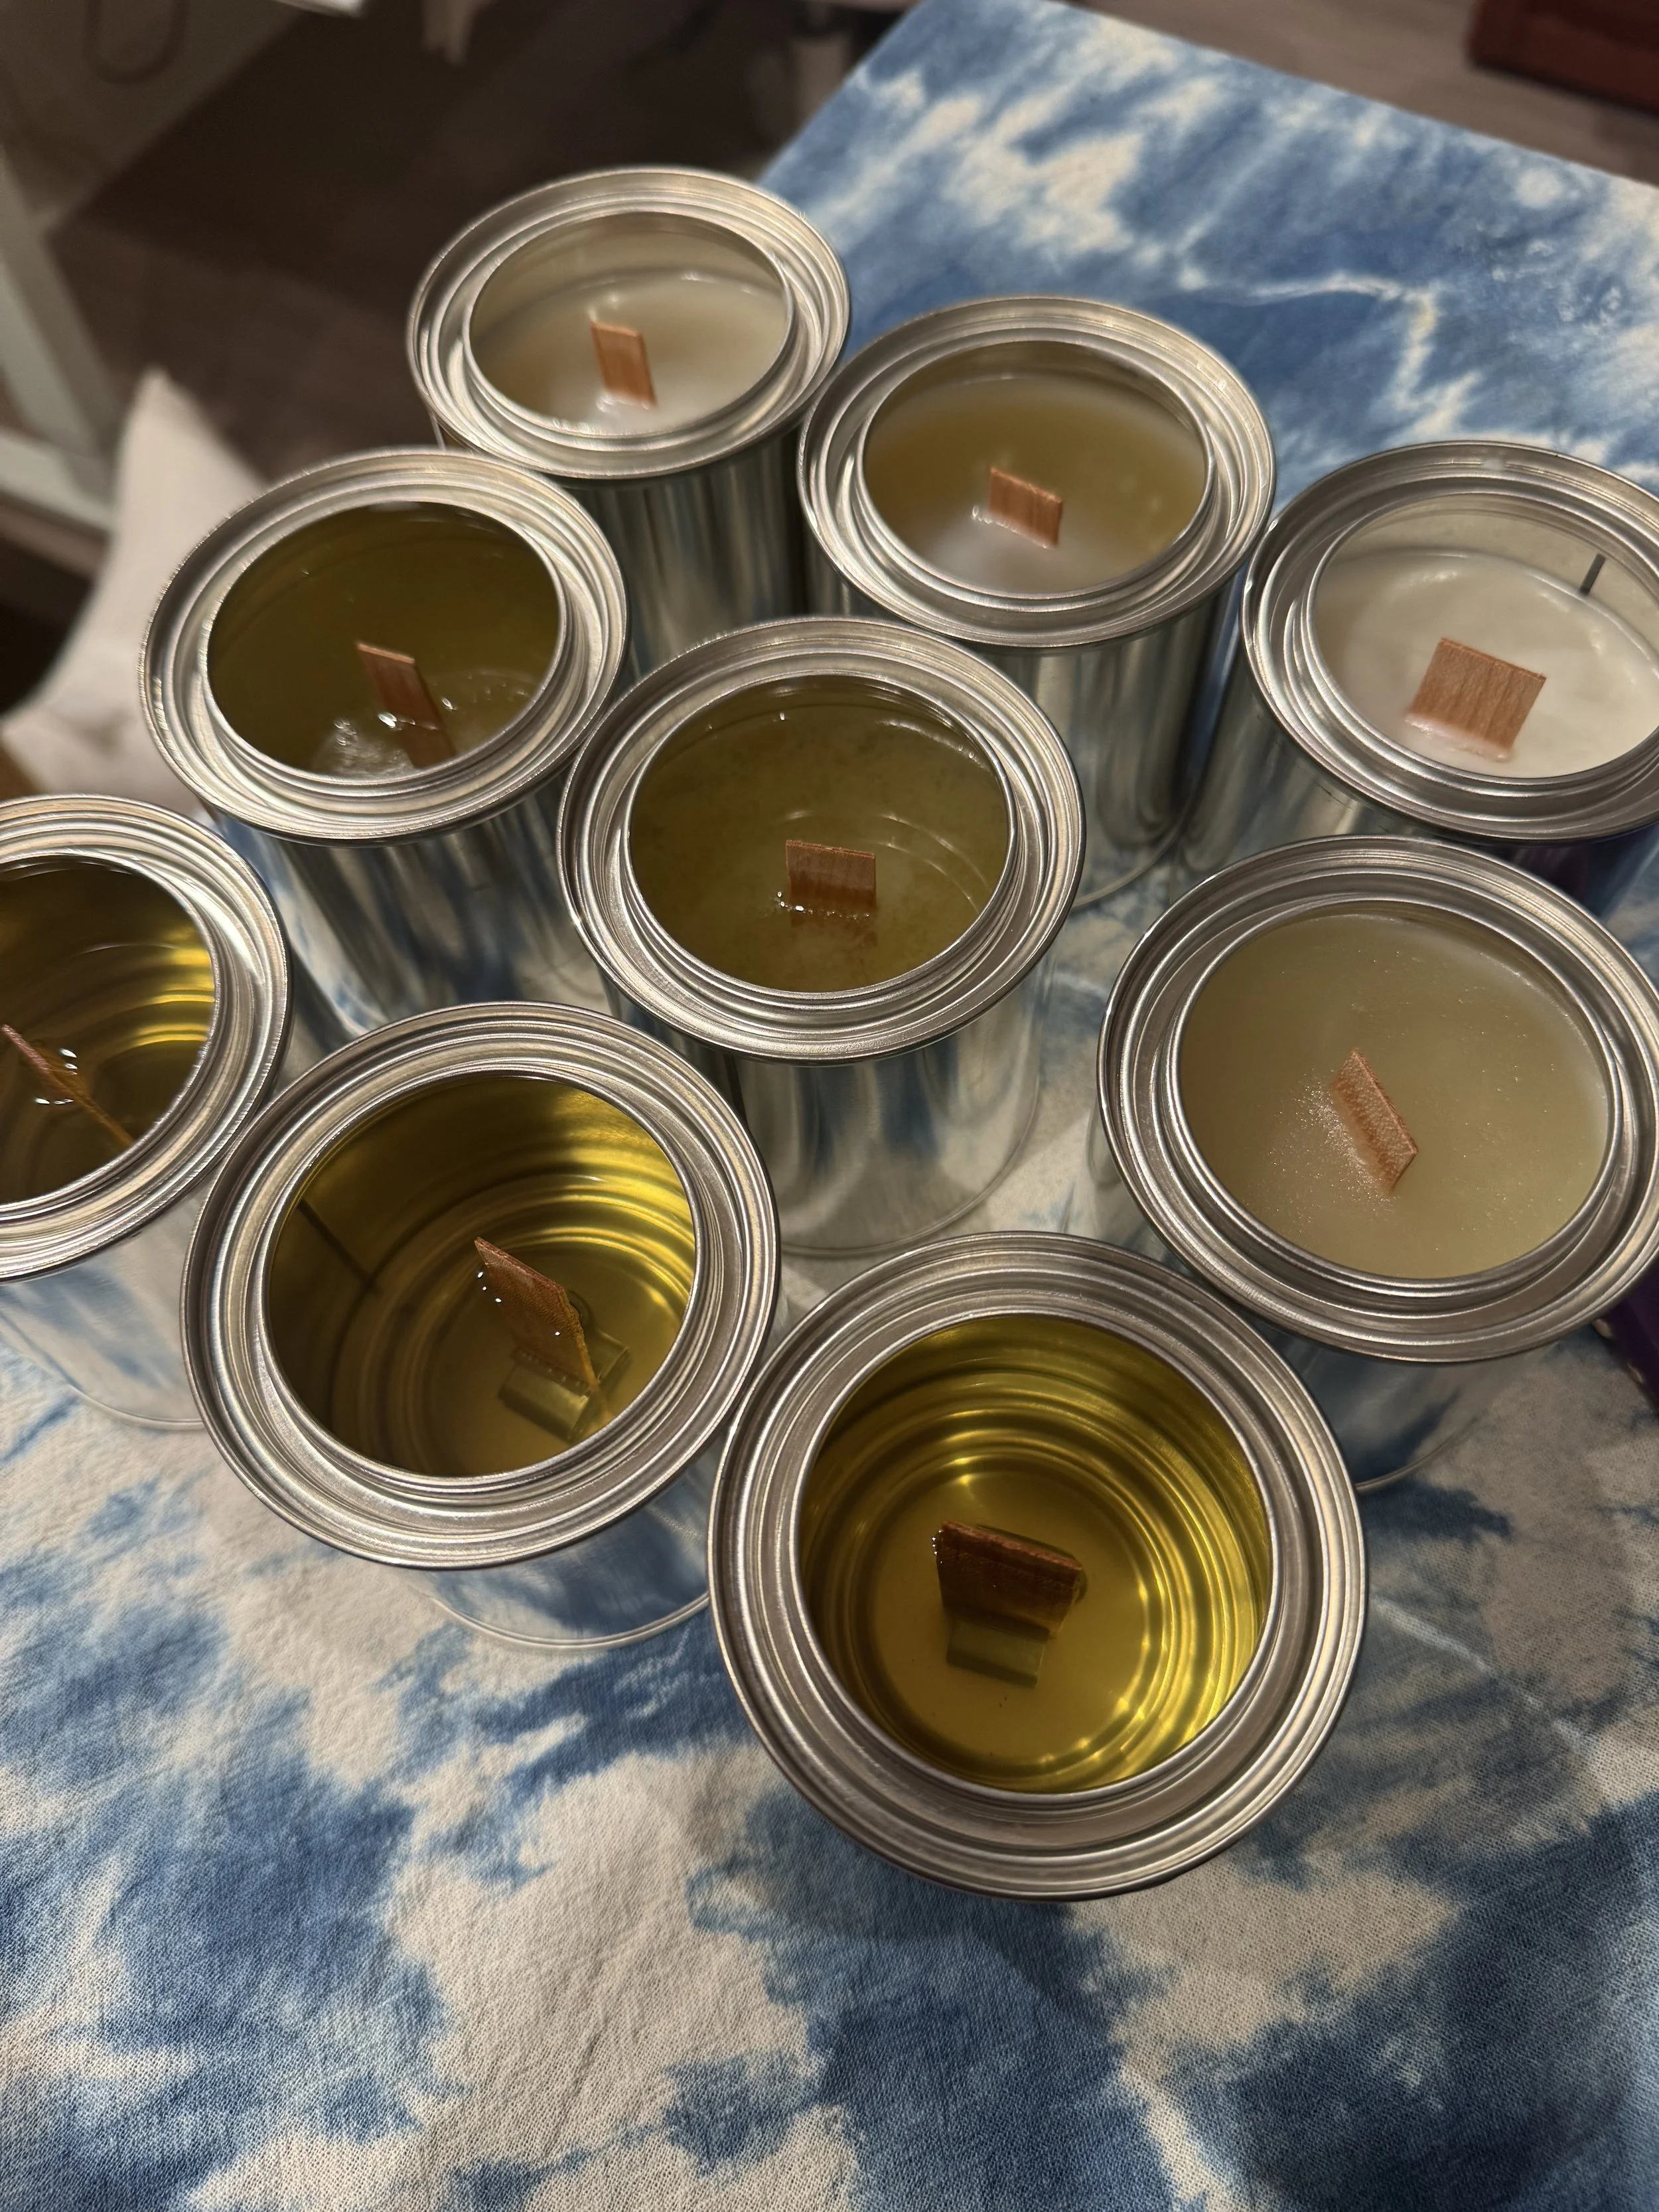
Fresh candles in multiple stages and wick sizes to compare performance
The next morning, I rushed to check on the candles and was thrilled to see they’d set beautifully. A few had tiny cracks around the wicks, which I traced back to my cool, drafty studio. The A/C likely cooled them too quickly, causing the surface cracks. I’ll fix that after curing with a quick pass of the heat gun. The cold throw, though? Incredible. I could smell each candle the moment I walked into the room — proof that my careful stirring and temperature control paid off.
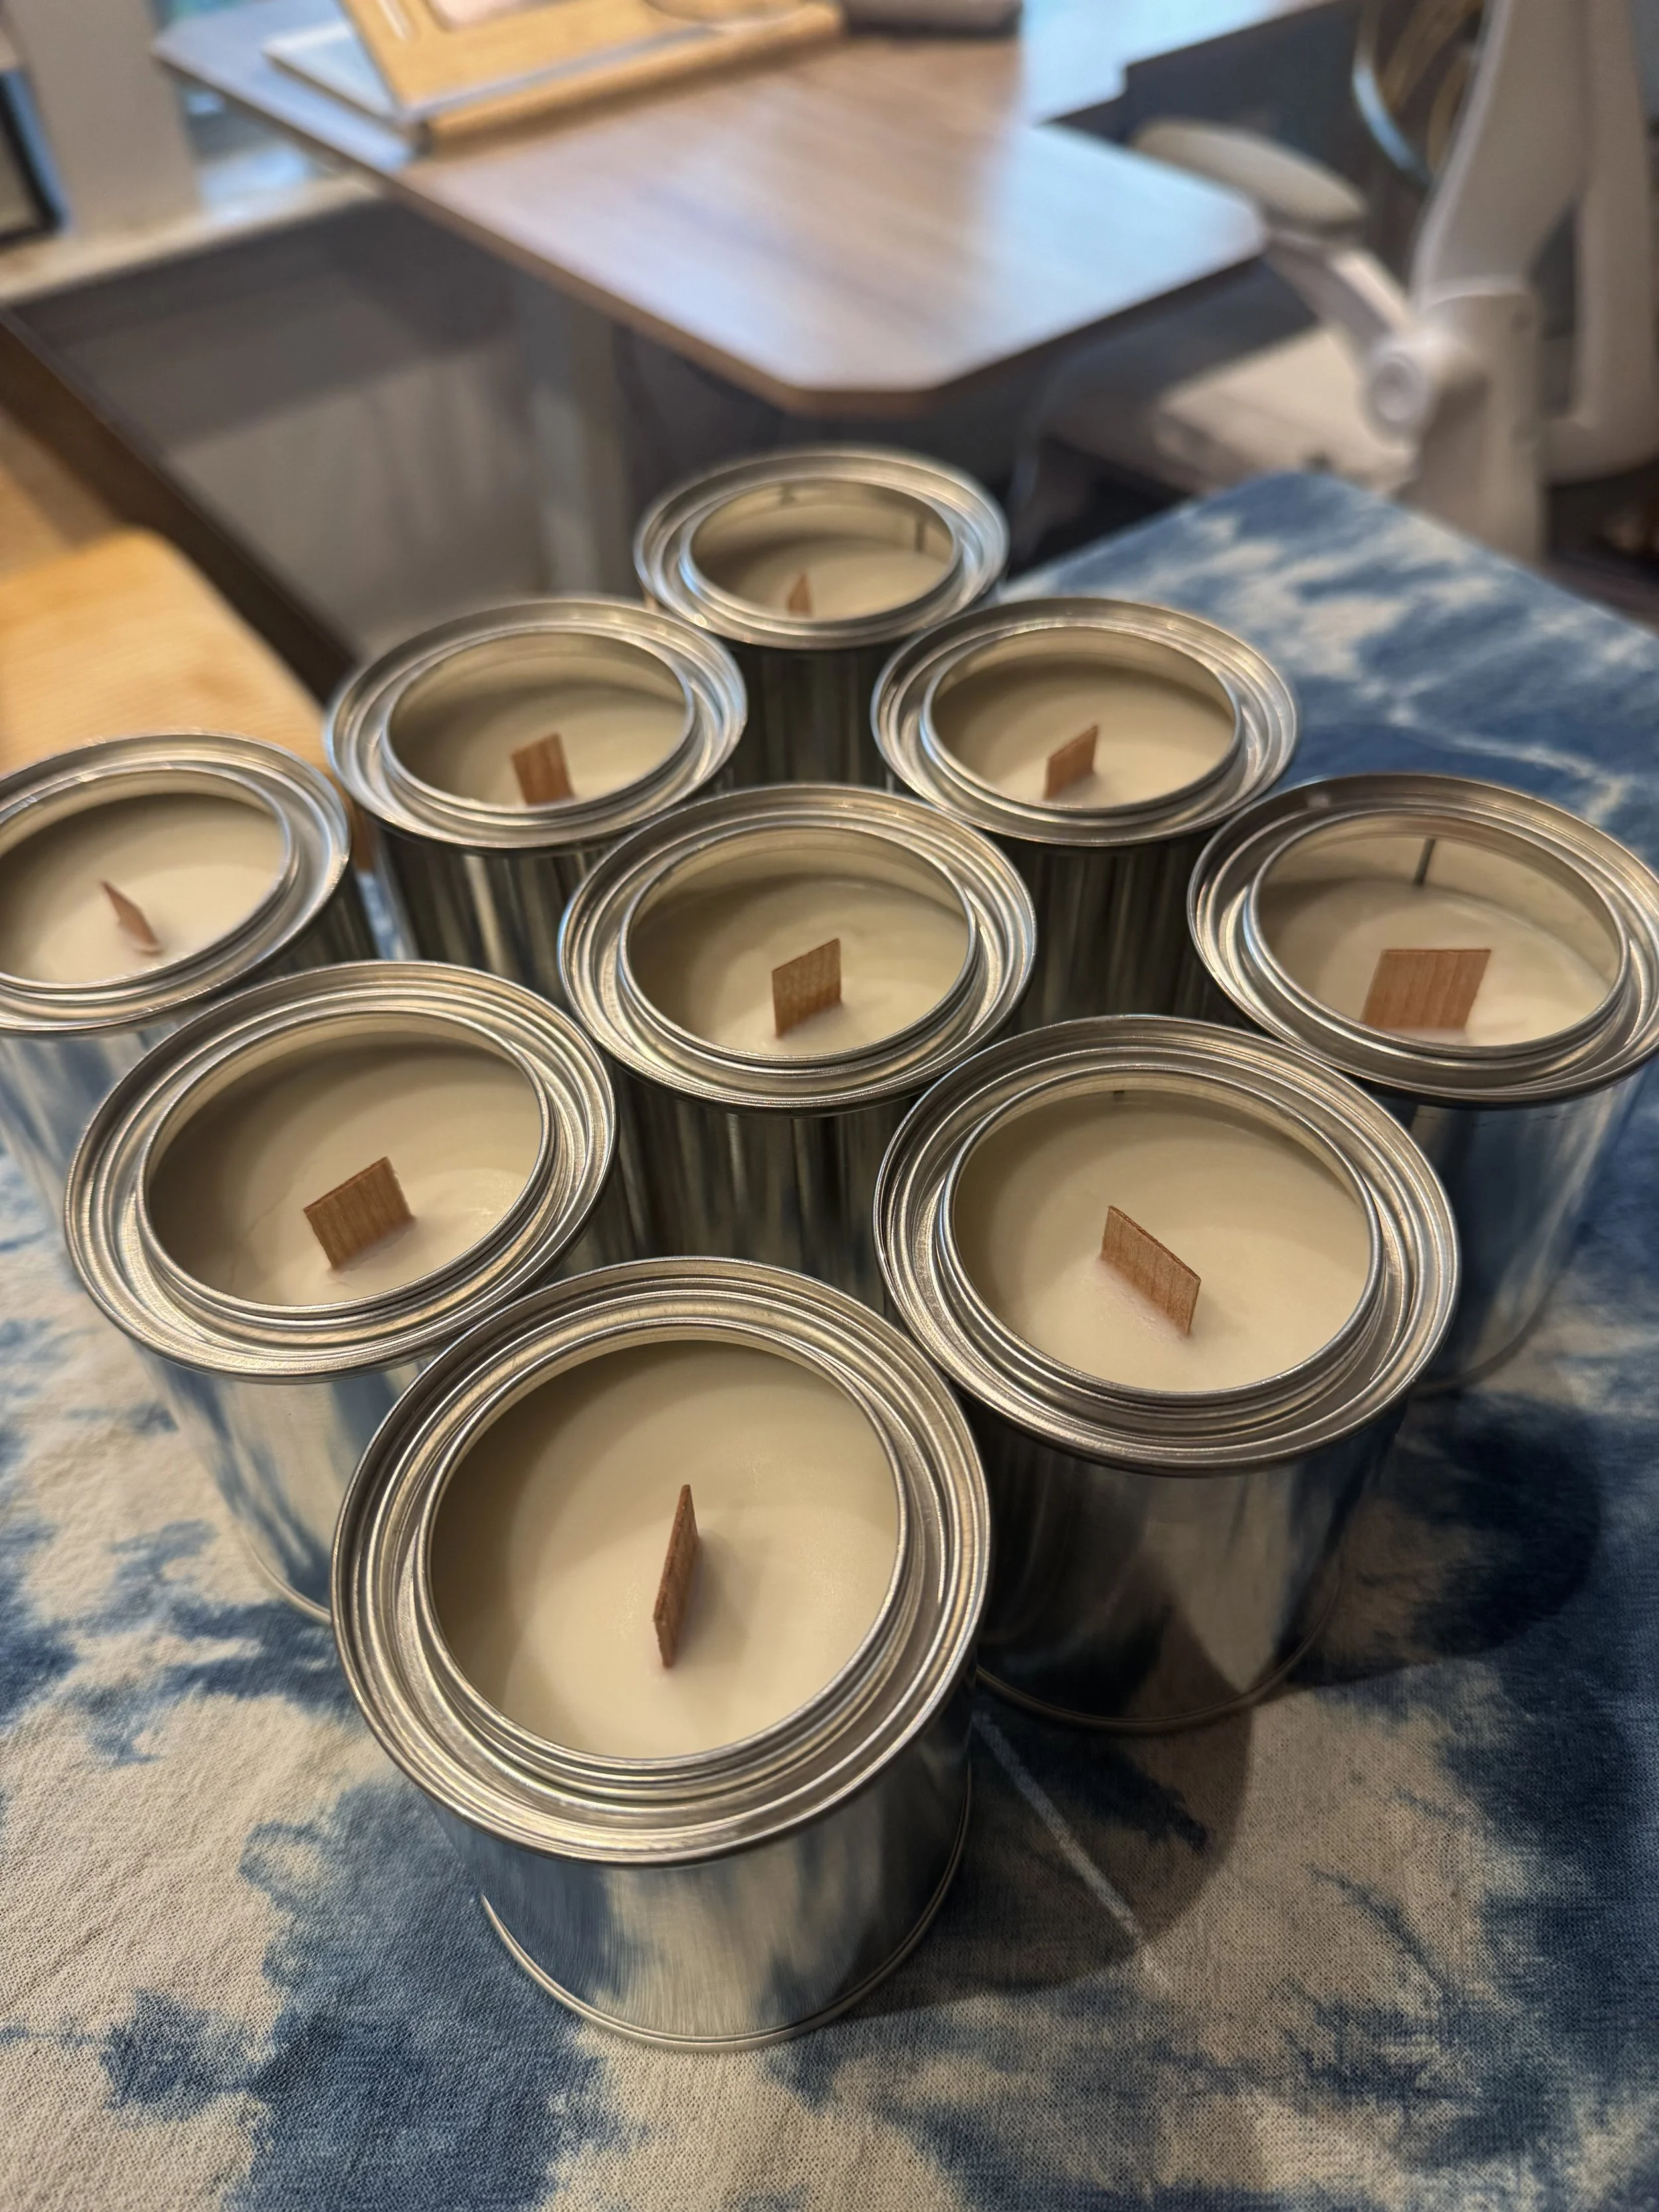
Candles completed and now curing. I’ll check and burn test in 2 weeks.
I stored the finished candles in a cool, dry box to cure for two weeks before burn testing — which I’m honestly looking forward to. Overall, I couldn’t be happier with the results. Taking the time to research, plan, and work through the process step by step made all the difference.
I was afraid I might feel overwhelmed or discouraged if things didn’t turn out perfectly, but the opposite happened — I’m completely hooked. This first batch was a rewarding, relaxing, and genuinely joyful experience. I can’t wait to fine-tune my process, pour again, and see how far Brighter Blaze Candle Co. will go.